The Ultimate Guide on How to Use A Green Screen
If you have ever watched a superhero fly through the sky, a weather reporter point at a storm map, or a YouTuber sitting in a futuristic studio, chances are you have already seen a green screen at work. The real beauty of using a green screen lies in its flexibility.
With a simple, bright backdrop and some editing, you can replace your background with virtually anything. Thereby, giving your videos, presentations, or creative projects a polished, professional look even in a simple space.
Much like artists use negative space in art to turn simplicity into impact, green screens transform plain studio setups into flexible canvases. Photographers use them to create dramatic portraits. Graphic designers blend them with digital art.
Video creators on TikTok and YouTube rely on them to tell stories without leaving their bedrooms. Learning how to use a green screen, therefore, becomes a creative tool that lets you turn ordinary footage into something extraordinary.

Table of contents
What Is A Green Screen?
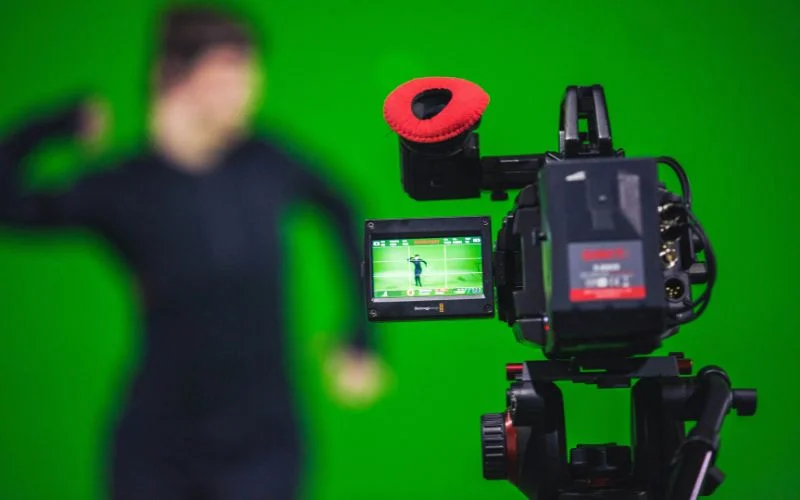
A green screen is a bright green backdrop used in photography and video. When you shoot a subject in front of this backdrop, editing software can remove the green and replace it with any image, video, or design you choose. This process is called chroma keying.
The idea might sound high-tech, but the principle is actually simple. Your camera records everything in the frame, and the software is trained to detect a specific shade of green.
Once it isolates that color, it makes it transparent, leaving you with a blank space where you can drop in whatever background you like.
Also check out: How To Use Weird Text Generators In Design
Why Use A Green Screen In Creative Work?

For creators seeking to elevate their content, green screens have become a must-have tool. By placing your subject in front of a bright green backdrop, you are able to swap the background to anything you can imagine. This process gives you full control over every aspect of your shot.
Another great thing about green screens is the freedom they give. Creators can manipulate and play around with different visuals and effects. Filmmakers, YouTubers, or photographers can easily layer backgrounds, add cool effects, or build imaginative scenes, all without leaving their studios.
Plus, it is budget-friendly. Instead of renting expensive sets or traveling to multiple locations, you can get professional-looking results with just a few tools.
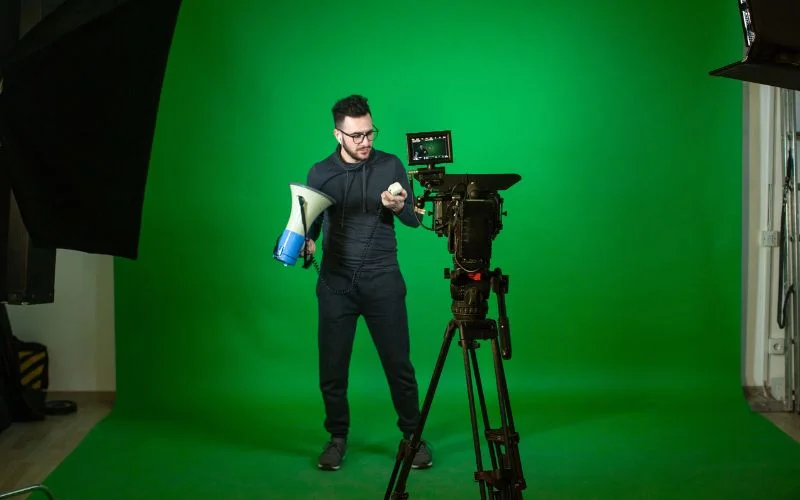
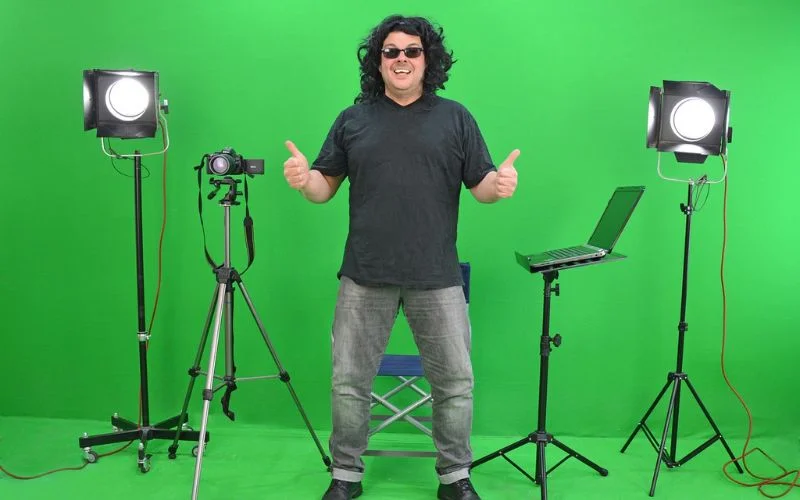
Essential Gear You Will Need
- Fabric, collapsible panels, or a painted wall. Matte fabric is best because it avoids unwanted reflections
- Two soft lights for the background and at least two lights for your subject (key and fill)
- A DSLR, mirrorless, or even a smartphone camera. Prioritize resolution and clarity
- Tripod for stability. Shaky footage makes keying much harder
- Editing software
You might also like: Green Screen Photography – How To Ace Your Next Photo Shoot
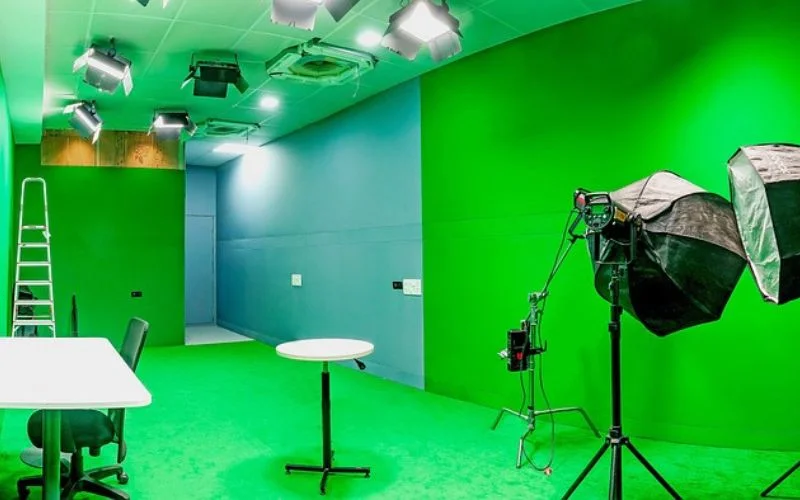
How To Set Up A Green Screen
- Position the Screen
- Place it behind your subject. Make sure it is flat and free of wrinkles
- Light the background evenly
- Add a key and fill light for the subject, plus a hair light to reduce green spill.
For playful and bold color inspiration when planning your background, Pop Art demonstrates how vibrant contrasts can make your visuals pop.
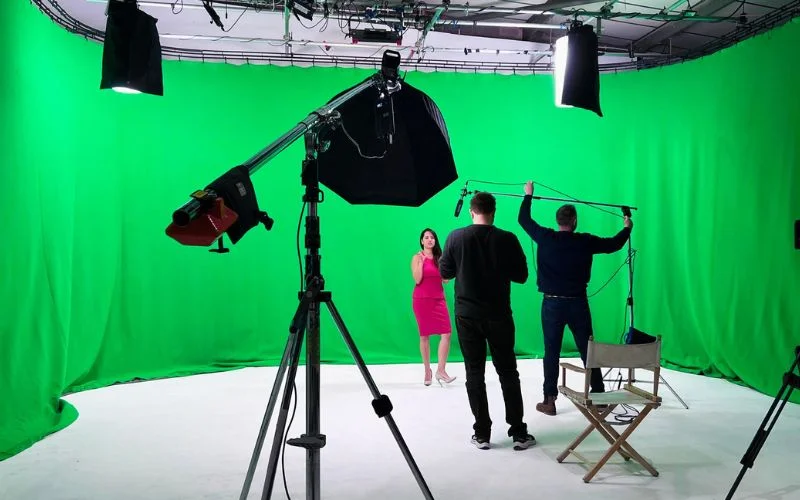
Shooting Tips For Clean Results
- Avoid Green Clothing. This is because anything green will vanish in editing.
- Avoid wearing reflective jewelry or glasses, as they can catch and reflect the green light.
- Leave space around your subject for background flexibility.
- Record short clips to check lighting and contrast before the full shoot.
- Make sure your subject does not exist beyond the edges of the backdrop.
Also check out: 9 Best AI Art Generators For Graphic Designers
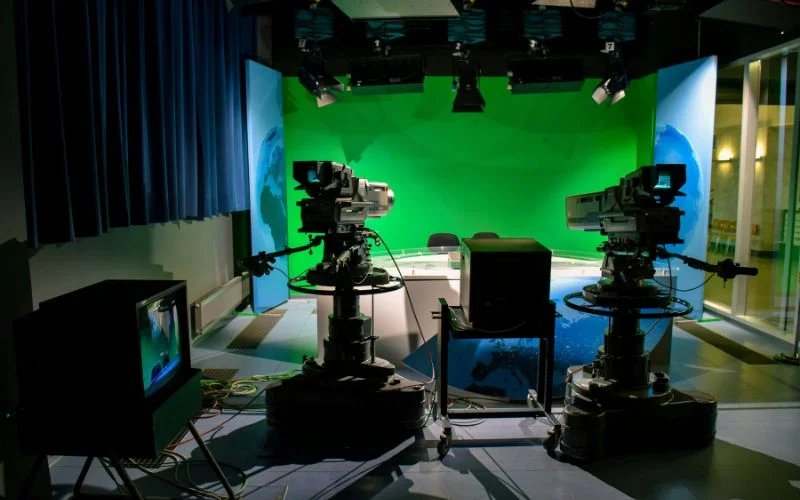
Green Screen Lighting
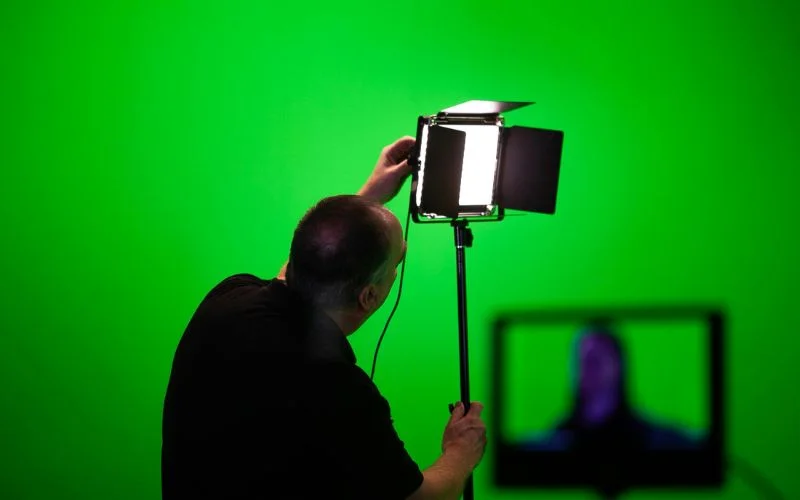
Lighting is everything when it comes to getting the most out of your green screen. Even a tiny shadow or uneven light can make it tricky to replace the background cleanly. To avoid headaches in editing, aim for soft, even lighting that illuminates both your subject and the green backdrop without creating harsh shadows.
A good starting point is to use two light sources for the background to make the green color uniform. Then, light your subject separately with soft front or side lighting to help them stand out naturally.
If possible, use diffusers or soft boxes to spread the light evenly and prevent hotspots. Remember, the more balanced your lighting, the cleaner your final composite will look, making your creative projects appear polished and professional.
After Shooting, What’s Next?
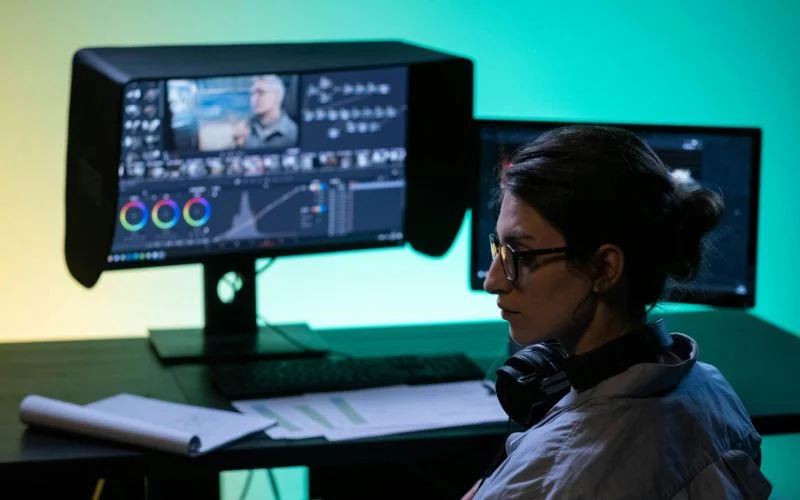
Once you have finished filming in front of your green screen, the next step is editing. This is where the magic really happens. At this stage, you replace the green backdrop with any background you can imagine. It could be a dramatic city skyline, a serene beach, or a futuristic virtual set.
To make the process smooth, ensure your footage is well-lit and free from shadows or wrinkles on the screen. Clean, crisp footage makes it much easier to isolate your subject and integrate it into the new environment.
From there, you can add effects, animations, or other layers to bring your vision to life. After adding your effects, adjust brightness and contrast so your subject blends naturally.
Common Mistakes And How To Fix Them
Uneven lighting issues
- Shadows, bright spots, or wrinkles on the backdrop make it hard to remove green cleanly in editing.
- Fix: Use soft, even lighting across the entire screen and keep the backdrop smooth.
Wardrobe mistakes
- Wearing green or reflective clothing blends into the background, creating invisible areas.
- Fix: Choose colors that contrast with the green screen and avoid shiny fabrics.
Distance problems
- Standing too close creates shadows, while being too far makes framing difficult.
- Fix: Maintain a reasonable distance and use lighting to separate subject from background.
You might also like: The Golden Ratio In Art Explained With Examples
Wrapping Up
Learning to use a green screen is about the small details. If you have proper lighting, carefully selected clothing, and a good sense of distance, you will open up all sorts of creative possibilities with a simple backdrop.
A green screen allows you to bring any scene into focus when working with video, portraits, or just for fun. So simply set up your green screen and enjoy the fun, and you can take care of the rest.
If you liked this blog post, check out more:
Cleanly removing green in editing is challenging when there are shadows, bright patches, or wrinkles on the background.
giving your videos, presentations, or creative projects a polished, professional look even in a simple space.
The examples—ranging from superheroes to YouTubers—make the concept relatable, and the step-by-step structure sets readers up for practical guidance. It strikes a nice balance between being informative and inspiring, showing that green screens aren’t just for big studios but accessible to anyone looking to enhance their creative projects.
ReviewHub is an online platform that offers honest reviews, ratings, and comparisons of products and services. It helps users make informed purchasing decisions by providing expert insights, user feedback, and detailed analysis across various categories like tech, lifestyle, and entertainment.
This piece really stood out to me compared to others I’ve seen on the same topic. You managed to keep the content engaging while still being very informative. I learned a lot and didn’t feel bored for a second.
Step into the arena of Scrandle , where linguistic mastery becomes your ultimate weapon in a battle of wits that demands vocabulary dominance.
Witness a symphony of strategic genius and balletic athleticism unfold in Football Bros play online, where every calculated play becomes a testament to the beautiful game’s intellect.
beautiful!
I love how this guide emphasizes the transformative power of green screens in visual storytelling. It’s fascinating to see how a simple backdrop can elevate the quality of videos and creative projects. The comparison to artists using negative space is so apt! I’m intrigued by the idea of blending green screens with digital art for unique graphic design projects.
It has that “just one more try” quality that every good arcade game needs.
This guide to using a green screen is clear and practical — you break down the setup, lighting, and editing steps in a way that feels approachable even for beginners. It’s helpful to see both the technical and creative tips laid out so clearly.
This is one of the rare guides that explains green screen usage in such a clear and simple way. It has been especially helpful for beginners. Thank you for your efforts.
Wow, this guide on using a green screen is incredibly detailed! I love how it breaks down chroma keying, lighting setups, and post-production editing in such an easy-to-follow way. For content creators, marketers, and photographers, understanding green screen techniques can dramatically improve video production quality and help create professional-looking visuals on a budget.
I also appreciate the tips on avoiding green clothing, using soft lighting, and keeping the backdrop wrinkle-free these small details really make a difference when isolating your subject. For anyone experimenting with digital storytelling or creative content marketing, integrating green screen setups can be a game-changer.
This article also reminds me of how platforms like Magis TV highlight similar practical tools and techniques for creators, offering inspiration and actionable tips to make content more engaging and visually dynamic. Pairing a green screen with strategic storytelling or menu-style video presentations could really enhance audience engagement.
Thanks for sharing such a comprehensive green screen tutorial definitely bookmarking this for future shoots!