How to Create Flat Design Illustration?
One of the essential features of any design is creativity. Creativity is even more valuable when it is unique and original. The place of uniqueness, originality, and creativity is also significant in creating flat design illustration.
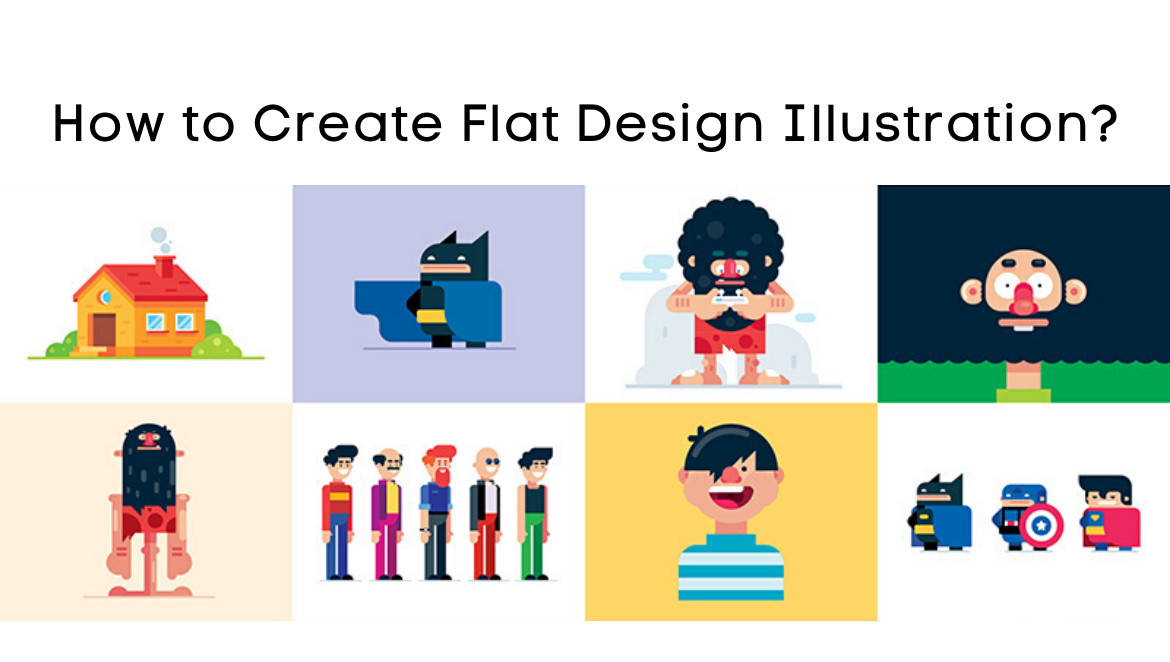
What is Flat Design Illustration?
Flat design illustration is one of the present artistic trends. It is a design approach that makes use of harmonic simplicity. In other words, it is a form of digital design that makes use of a minimal but concise visual expression.
This form of digital design got its name from the nature of its 2-dimensional models. You can create this type of design by employing a 2-dimensional visual illustration instead of the usual skeuomorphic, realistic, and detailed image representation. The numerous stylistic features in flat illustration design make it suitable for many artistic purposes. It is particularly useful for advertisement, entertainment, and passing important information.
 An excellent flat design illustration must be easy to translate. You might have a lot to learn in flat illustration design if you don’t have prior experience in design. Flat design illustration is not as challenging as most people perceive it to be. Nevertheless, you need to learn and follow some easy steps.
Here are easy steps that can guide you on how to create a flat design illustration.
STEP 1: Create A Sketch: The first step in creating a unique flat design illustration is drawing out a sketch. This sketch usually serves as a template or framework of the overall design. Creating a summary at the beginning of your work will help you figure out the intent, dimension, and prospective composition of your design.
Sketching in flat design is usually not time-consuming; thus, you can get it done within 20-30 minutes. Although it is never advisable to copy from other designers, you can take the cue of your sketch from other designers.
Once you are through with the sketch, take your time to analyze it. This analysis will assist you in making sure that the sketch template gives you the desired result. However, it is essential to understand that it is not compulsory to have a perfect sketch. All you need is an overview that will continuously remind you of your intent.
STEP 2: Transform Your Sketch into an Outline: At this stage, you are already moving towards the creative part of the illustration design. To turn the illustration into an outline, you have to export it into an adobe illustrator.
Once you get your sketch into the adobe illustrator, you can proceed to trace the lines with shape tools and pens. After this, you can then move to the smoothening of the lines to fit the composition. You can place all the components of the design the way you want it. The need for rearrangement might, however, arise later on.
Before you move on from this stage, you should observe your outline from various perspectives. This observation will help you ensure that you have a balanced composition and an interesting perspective. Likewise, it will help you view the design from different angles and choose a suitable merging point.
STEP 3: Choose Suitable Color Palette: Color is an integral part of any design. It plays a significant role in the overall outlook of design illustration. It is not compulsory to have the full-color mix in mind before starting the plan.
It is best to use colors that will convey and illustrate your idea. The color you give your design illustration will determine its mood. Except it is unavoidable, it is not advisable to overload your designs with multiple colors. Your design will be more visually appealing if you keep it simple.
To get the best color combination, you can pair the shade of one color with another contrasting color. You can check how well the colors contrast by viewing it in a white and black model. You can determine the level of contrast by how well it blends.

STEP 4: Add The Details: The addition of details is like bringing life into your illustration. It would help if you dedicated enough time for this process. This process determines the overall outlook of your design. Also, ensure that the details you are adding to your plan are consistent with the dimension, idea, and intent.
You should check out the color blend, shadows, the alignment of various anchor points, and fine-tuning of all lines. You can even employ the use of easy-to-read metaphors to convey your message better.
STEP 5: Employ The Use of Textures: The addition of texture is the final and crucial step in creating flat design illustrations. The use of textures has a lot of significance, including the addition of vividness to the design. Likewise, it adds more creativity to the plan.
The addition of textures to your design is, however, not a rigid step. The compositions can be in the form of dots, lines, scuff marks, stripes, and even colored photos. You can use these textures individually or in a complementing combination.

Conclusion
Flat design illustrations primarily deal with creativity. As much no one can teach creativity, there are still some crucial steps to follow to create fantastic design illustrations. Likewise, you can get better with flat designs by constant practice and with constructive analysis of other illustrator’s designs.
The features of a quality flat design illustration include original style, suitable composition, excellent color combination, presence of metaphors, as well as the application of textures.
Great content. amazing photos.
That’s amazing! They’re exactly what I was looking for! I thank you all for sharing these wonderful and satisfying experiences with me! Now let’s go with family and friends.