How To Add Realistic Snow Effects To Your Photos In Just A Few Clicks
The winter season is a whimsical wonder. It brings us a beautiful landscape of white sprinkles. It is jarring how nature switches its fashion all over the year! So, enjoy the season to the fullest, with snow effects to enhance the experience.
There are so many reasons to love snow. It offers us an exquisite change of scenery. The best pictures for your social media account comes from this magnificent view. The snowboarding trips, making snowmen, and Christmas—winter has covered it all!
Nature brings you the best filter for your favorite memories. Want to flaunt your winter boots and outfits? Click a picture of you trampling around in the snow. Romantic holiday parties? Capture your lover’s smile in the snowy background. Is the school day canceled? Grab your camera and make pretty snow angels!
Snow effects serve to add that beautiful panache to your pictures. However, the weather is not always agreeable to you and your photography. Also, who wants to get out of their bed in winter?
It can be extremely challenging to capture the beauty of snowfall. But who is to say that it is impossible? You can achieve this wondrous feat with the help of Photoshop!
How To Make This Possible?
Editing your pictures with realistic snow effects can give that magical touch you desire. Photoshop is a powerful tool that opens the avenue for creativity. It resolves all your qualms with a few simple clicks. You can now add falling snow effects to your photos to capture that winter vibe!
However, just adding an image to your picture will not necessarily provide the desired effect. It does not guarantee perfection.
This begs the question—do you have to create these overlays? Is enhancing your picture a hefty barter for your time and effort?
Well, not anymore. InkyDeals brings you their aesthetic bundle of joy. Now brighten all your photo sessions with this 160+ falling snow overlay, all for free! Feel open to transforming your canvas with our high-quality overlays!
Features
-
It comes with an extended commercial license. Therefore, it has unlimited use for your creativity and vision.
-
It is compatible with various graphic design tools apart from Potoshop. Check them out here.
-
Offers an extensive collection of snow scenes. Pick any according to your mood.
-
These are realistic HD overlays. That means they’re high-resolution overlays and can extend up to 300 DPI.
-
Overlays are adaptable to your image size.
-
It is FREE. InkyDeals grants you lifetime access to this bundle!
How do you use Photoshop to add these overlays?
An overlay is one way to attain that perfect wintery mood. Achieving realism has never been this easy with this pack of realistic snow images. All you need is Photoshop and a couple of minutes!
This technique of seamless superimposition is completely attainable with Photoshop. Follow these steps for a better understanding—
-
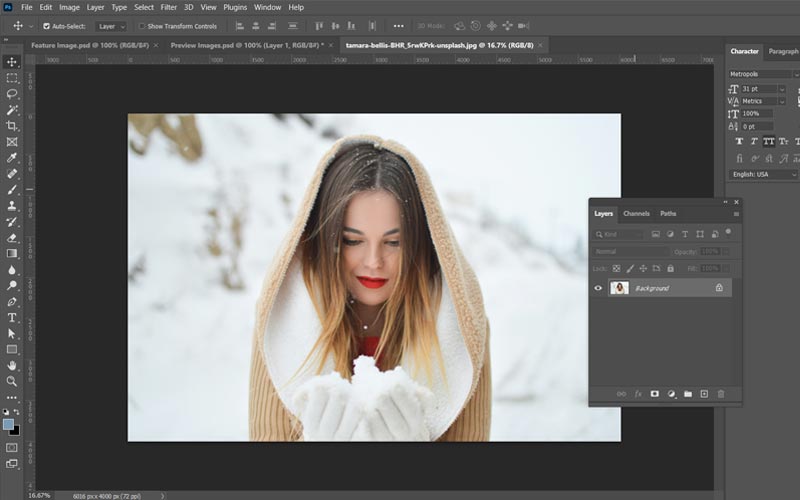
Open your photo in the software. This will become the background for your snow layer.
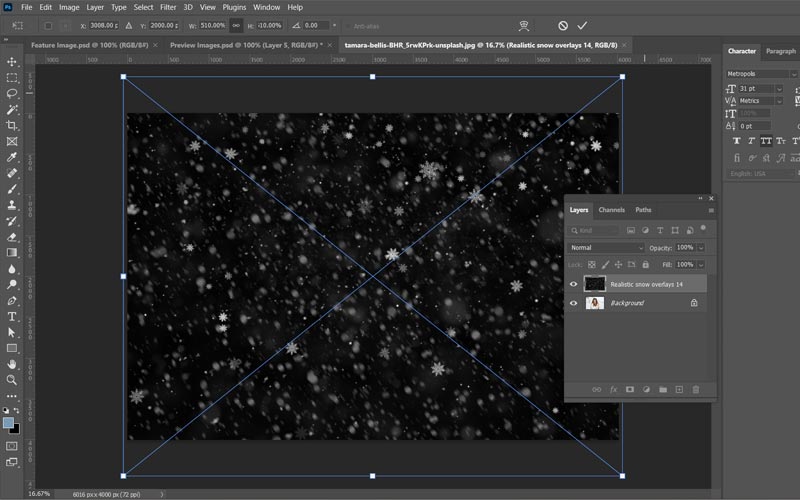
2. Bring your downloaded overlay out for use. Simply drag and drop it on your picture.

3. It should hover over your picture. What it does is it creates a new layer over your background. Drag it from any corner to make it fit your background picture.

4. Select your snow overlay layer from the Layer Panel on your right.
5. Within the Layer Panel, click the options bar for Blending mode. Ideally, the bar should be on Normal mode.

6. Open it and change it to Screen mode. It makes the black color in your layer invisible.
And voila! Your overlay is all blended out for that subtle, realistic snow effect!
It is also pertinent to note that this result is open to alterations. Here are some tips that you can use to achieve your ideal result—
-
Double-click on your snow overlay layer to open Layer Style. Within Blending Options, you can find a gradient bar called the Underlying Layer. You can use the slider to modulate that.
- Press the Alt button while clicking and holding the slider to divide it. It will help you find the best effect for your picture.
-
Mask your layer if you wish to edit the snowflakes. This can be done by clicking add layer mask button on the Layer Panel.
A white layer mask thumbnail should appear beside your layer thumbnail. It means that the black brush can be used to edit the overlay. Use the softest brush setting with minimal Flow to erase the unwanted details.
To Wrap Up
This free photoshop overlay ensures the most natural finish to your pictures. With the range of snow sceneries, this bundle offers you variety with quality.
With this fantastic collection, Inkydeals strives to make your memories special. Don’t wait anymore. Download our overlays for free to add that zing to your projects!

Leave a Reply