12 Easy Steps To Create a Cool Type Treatment

What makes the difference between an average design and a kick-ass design? Concept, contrast, colors, line art, positioning? In my opinion, you should always keep these in mind but never forget about type. There are a lot of things to know about type, and there are a lot of things a designer should avoid but in this brief tutorial, I will show you how you can easily create a vintage style calligraphic type treatment and use it on a t-shirt design. Here is my end result:

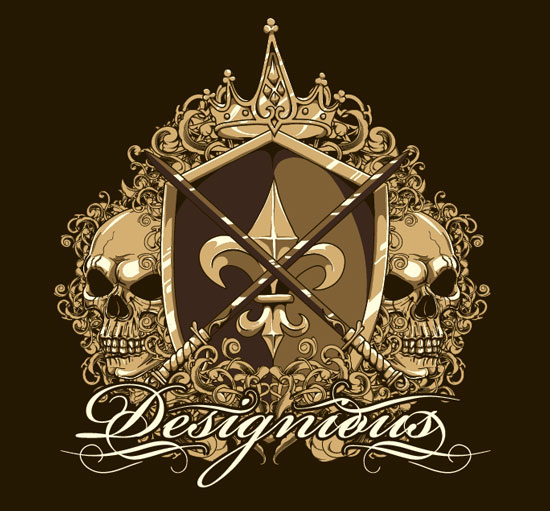
I’m using Adobe Illustrator CS3, the font Bickham Script Pro, calligraphic ornaments and vintage t-shirt design 232. You can always use your own or our other premium designs. Here is the skull design.
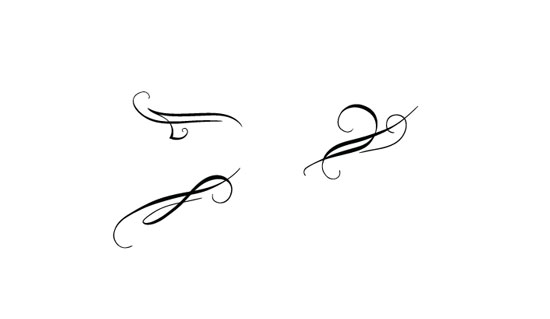
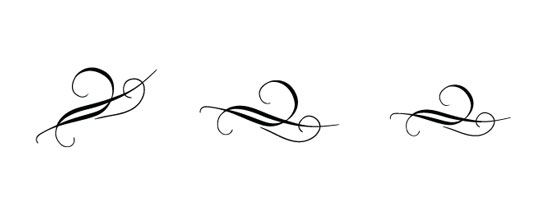
And a few elements I chased to try from our ornamental vector packs:
Lets get started:
1. Using the Bickham Script Pro write Designious with 120 Pt font size, go to Object>Expand to expand the stroke.

2. Let’s pick one of the calligraphic ornaments that we will apply to the text and using the Selection Tool (V) select (a), rotate a bit (b) and scale down (c) a bit because we need to adjust the ornament to the font type and size a bit.
3. Now place the element under the right part of the copy so that you leave a bit of space and the curl from the element seems to start from the body of the S font.

4. Now the type is right hand focused; we should add some ornaments to its left as well. We should use the same element to give is some symmetry so click on the initial element drag it to the right a bit Using the Selection Tool while you hold down ALT . After you’ve copied it >right click > Transform> Reflect> Flip Vertical.

5. Now move it towards the left side of the copy so that you get the curl to start from the right part of the D character.
6. Let’s try to give the type a more complex look by decorating the upper part a bit but with less complex shapes. Let’s remove some parts of our ornament using the Direct Selection Tool (A) and the Delete key on the keyboard. ( the calligraphic ornaments pack has the parts of the ornaments grouped together so they can easily be customized).

7. Now place the elements so it holds the “i†within the spiral.

8. The type needs to be balanced by adding an ornament to its right part as well. Use the same element as in the lower right part, Copy it(CTRL+C), paste it (CTRL+V), flip it horizontal (CTRL+SHIFT+T), delete the slim part and move the elements apart a bit.

9. Now place it in the upper left part so that it looks like passing through the “o†and…. Tada! Here it is:
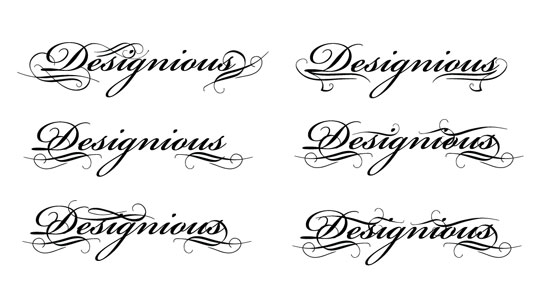
10. I have also played with this ornament and the other 2 ornaments I have picked in the beginning of the tutorial and these are my results:
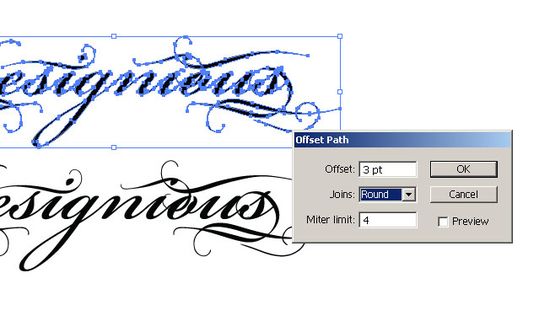
11. Let’s  try to put our  type on the design now. In order to do that we need to copy it and give it an offset on 3pt with round joins using Object>Path>Offset Path from the menu.
12. Select the offset with the Selection tool (v) , send it to back ( SHIFT +CTR + [ ) change color to match the background, change color to the upper type as well to a brighter color from the design , center and place on the design. Here is the final design with the copy.
0 Comments on “12 Easy Steps To Create a Cool Type Treatment”