How to create a torn wall paper effect in Illustrator
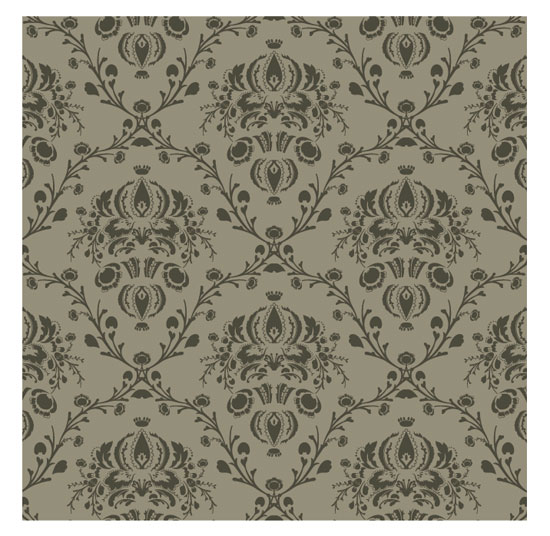
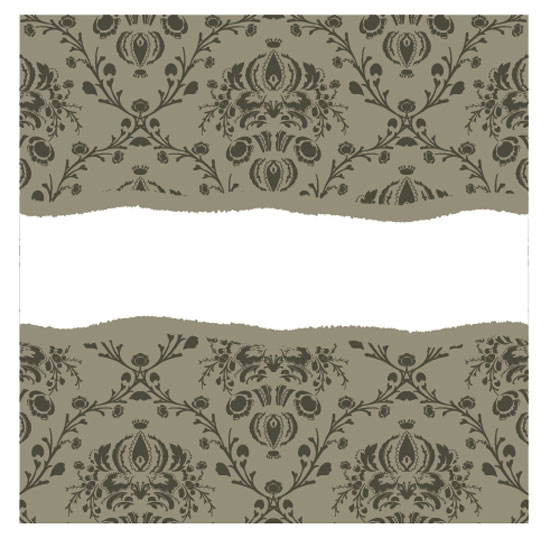
In this tutorial we will learn to create a torn wall paper based on a seamless pattern and simple distortion techniques. I used a seamless pattern from Seamless Pattern Vector Pack 20 from Designious and Adobe Illustrator CS3.This is the final outcome.

STEP 1
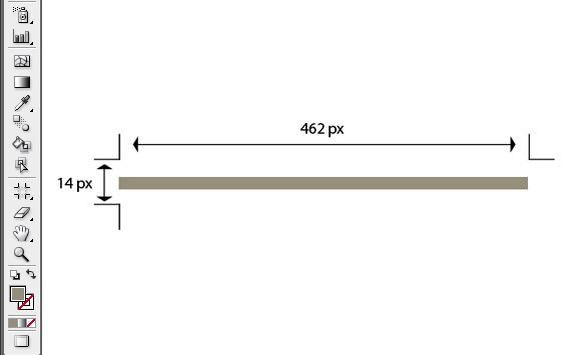
Grab the Rectangle Tool (M) and create a shape like below. It’s not a must to be exactly the same size, but try to preserve the proportions. If you want to create it exactly like this, click on your canvas, then a “Rectangle†options window will pop up. Give it 462 px Width and 14 px Height. Hit OK. Also make sure you have no Stroke and the fill should be #918D79.

STEP 2
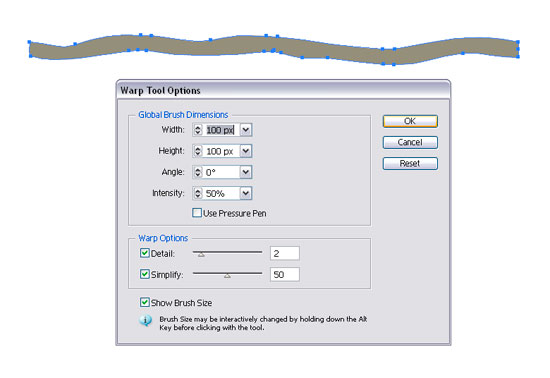
Use the Warp Tool (SHIFT+R) and press enter. Use settings similar to the image below. Hit OK. Now click on your rectangle until you get a similar result, like mine. Don’t overdo it though, it will look un-natural.
STEP 3
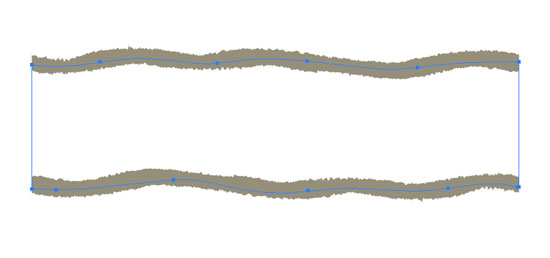
Hold click over the Warp Tool and select the Wrinkle Tool. Hit Enter and use similar settings like in the image below. Hit OK. Now click on the top and bottom edges of the distorted rectangle to obtain a tearing effect.

STEP 4
Grab the Selection Tool (V). Now select the distorted shape, hold the ALT key and click-and-drag the shape downwards. Hold SHIFT after click to move it vertically. This will make a copy of your shape. You’ll know when you can copy a shape like this when you see a small white triangle near your cursor. Now select only the second shape and go to Object > Transform > Reflect (CTRL+SHIFT+T) and select Horizontal. Then hit OK.

STEP 5
Use the Pen Tool (P) and draw a shape like below. Make sure it’s filled with a different color (white – #000000). Select it using the Selection Tool (V), then press CTRL+SHIFT+[ to send it to back.
STEP 6
Open the “pattern.epsâ€. Select it, copy it (CTRL+C) and paste it (CTRL+V) in our document.
STEP 7
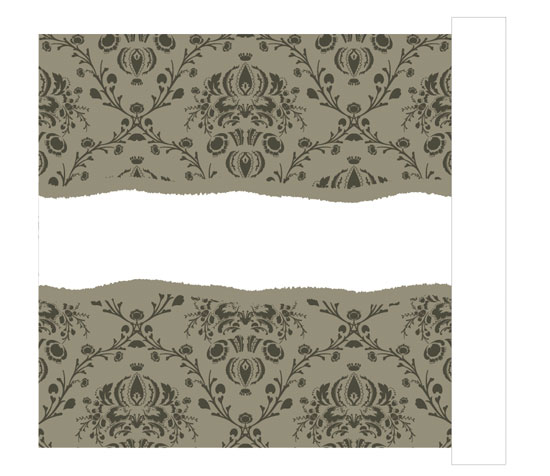
Go to Object > Group (CTRL+G) to group the elements of the pattern together for an easier later selection. With it selected, right-click > Arrange > Send to back (CTRL+SHIFT+[) to send it to back. Now align it with our previous shapes to look like below.
Use the Eraser Tool (SHIFT+E) to erase the extra ends. Hold ALT key to make a rectangular erase, like below.
STEP 8
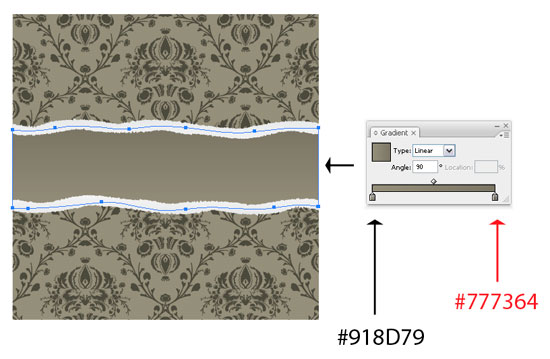
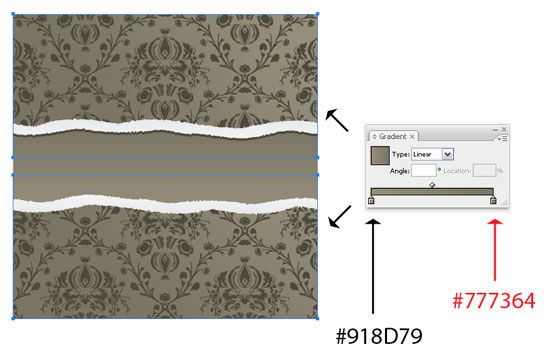
Select the shapes we created in the STEPS 1-4 using the Selection Tool (V). Open the Gradient window (Window > Gradient) and apply a right-to-left gradient using the colors below or similar ones.
STEP 9
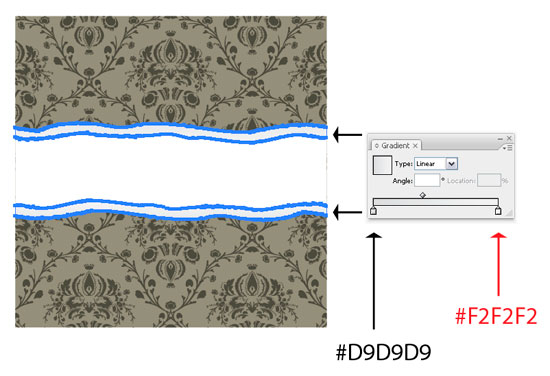
Now select the shape drawn in STEP 5 and apply a vertical top-to-bottom gradient using the colors below.
STEP 10
Select the top “paper tearâ€. Copy it (CTRL+C), then paste it to back (CTRL+B). Give it the color below. This will be the shadow of the wall paper.
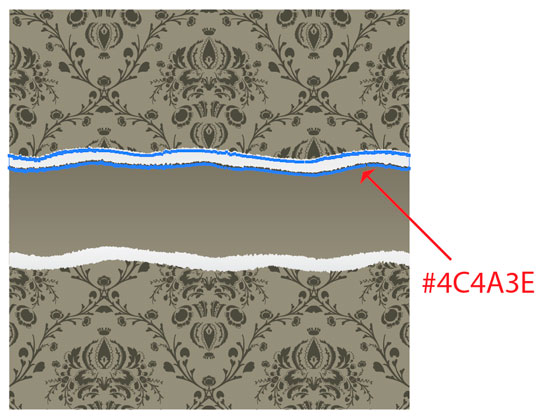
STEP 11
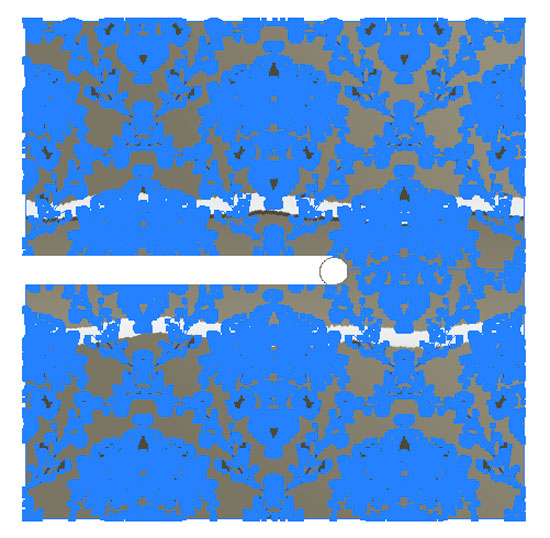
Grab the Magic Wand Tool (Y) and select the background color of the seamless pattern. Then right-click > Arrange > Send to back and use the Eraser Tool (SHIFT+E) to split it in two. You don’t really need to be precise, the edges will be hidden.
STEP 12
Select the seamless and go to Object > Ungroup (CTRL+SHIFT+G). This will allow you to select the top and the bottom sides individually. Select the background color of the top side of the seamless. Now apply it a linear gradient, bottom-right-to-top-left. Do the same for the bottom side. Done!
Great tutorial!
Thanks!
nice tutorial buddy :D
Great tut. Thanks for sharing.
great tutorial…loved it
thnx for sharing………
It looks very nice ! Useful tut !
matur suwun pak de…….
hehehehehehe
What a great resource!
Good job… very simple and easy to follow.